Wednesday 6 November 2013
Imitation
is the sincerest form of Flattery - or at least that's the way I'm taking it.
Having built the LCT - see older posts - I was looking for more pictures of LCTs when I found this series of posts http://madgamers.co.uk/newforum/showthread.php?tid=116
Apart from the fact that they are a waterline model they're quite a faithful copy of mine even down to my mistakes, no-one has ever copied a model of mine before and I AM quite chuffed. Truthfully. I think I would have liked a bit of a name check or a reference but I hope you enjoy the model.
Thursday 27 January 2011
Original Plans
The plans for this were purchased from Traplet Publications.
You can find it here:- http://shop.traplet.com/product.aspx?c=1504
You can find it here:- http://shop.traplet.com/product.aspx?c=1504
Wednesday 27 October 2010
Just a quick post...
to keep things ticking over.
I recently found this picture of an group of LCT 5's delivering troops to a beach.
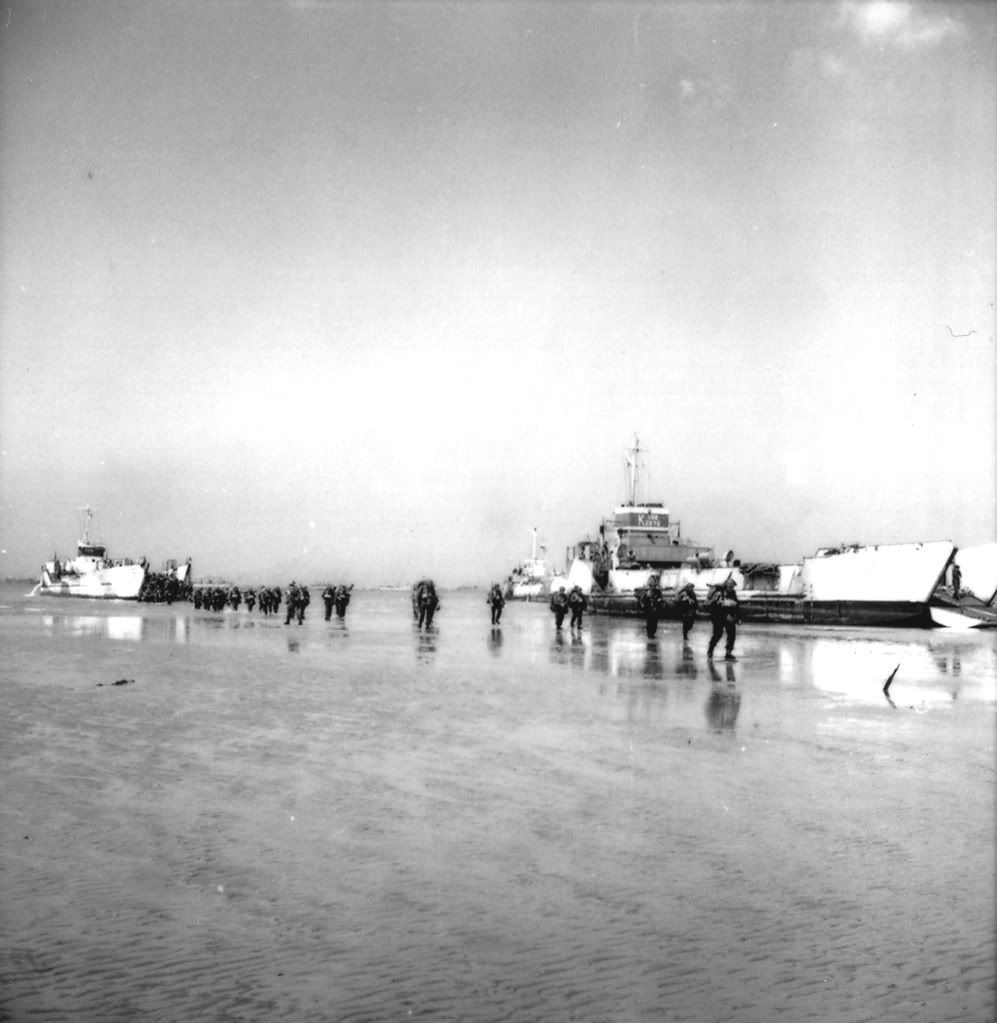
I recently found this picture of an group of LCT 5's delivering troops to a beach.

Tuesday 5 October 2010
Painting 2
I wanted this as bright and interesting as possible. So the D-Day scheme seemed logical.
After undercoating and rubbing down I base coated in white. The under hull, was Chaos Black from GW and then a mix of two GW blues for the camouflage. This was brush painted.
The plan is for more weathering, including washes - these things got really rusty.
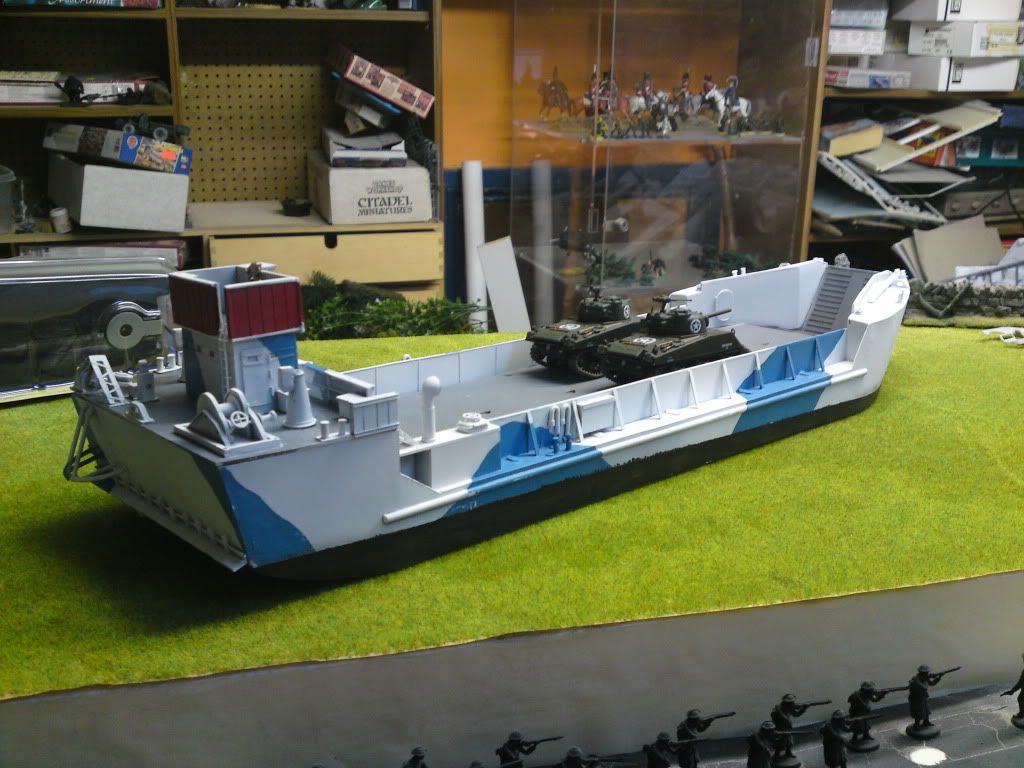
That pelorus has to be moved - it's in the wrong place.
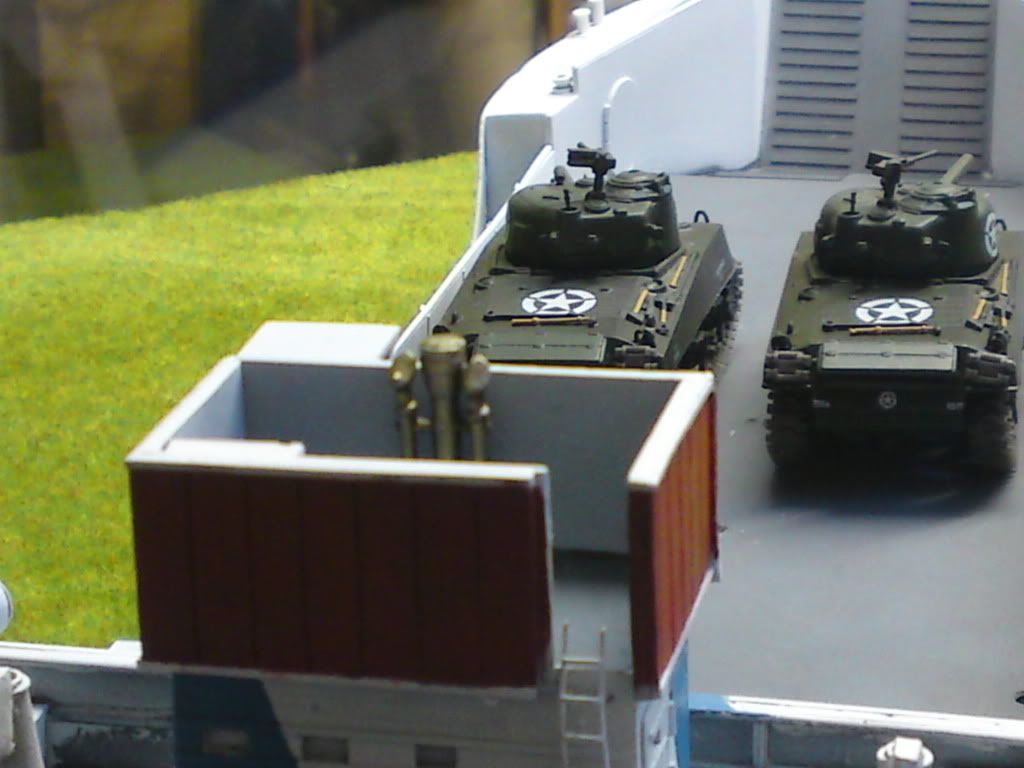
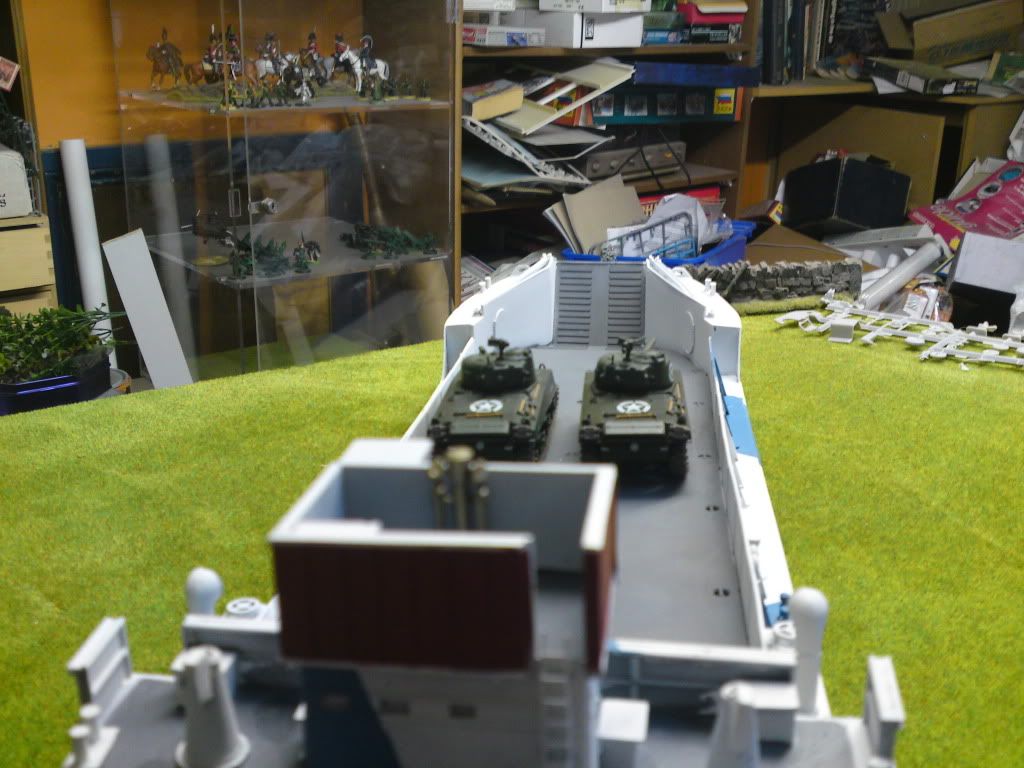

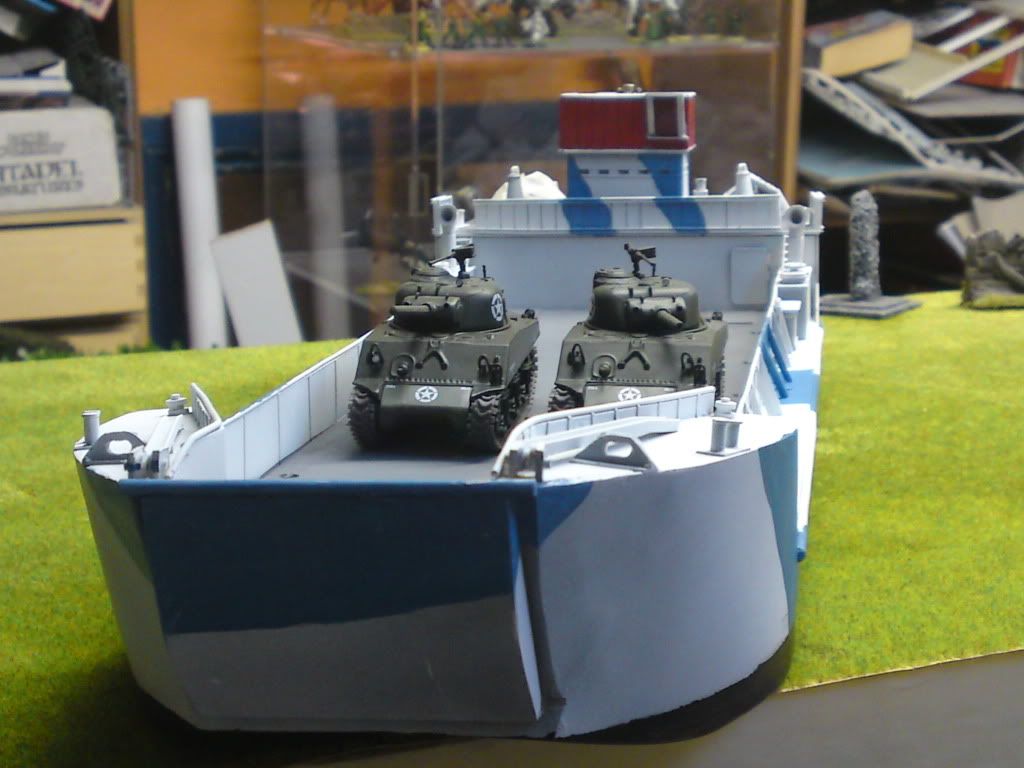
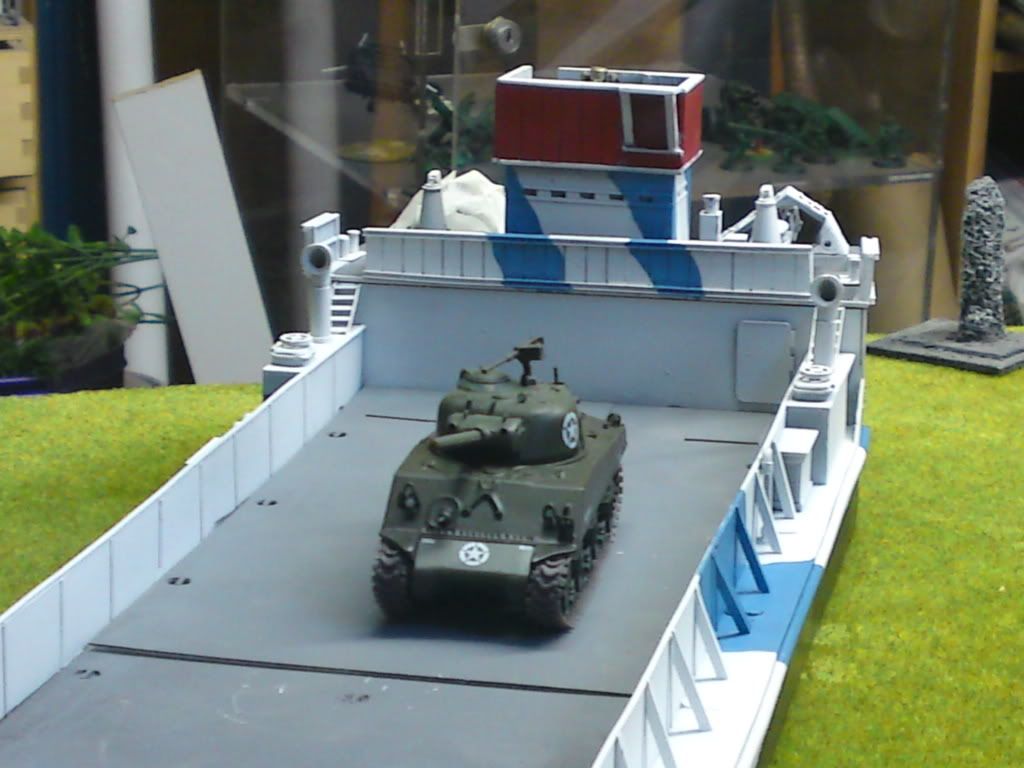
Starboard
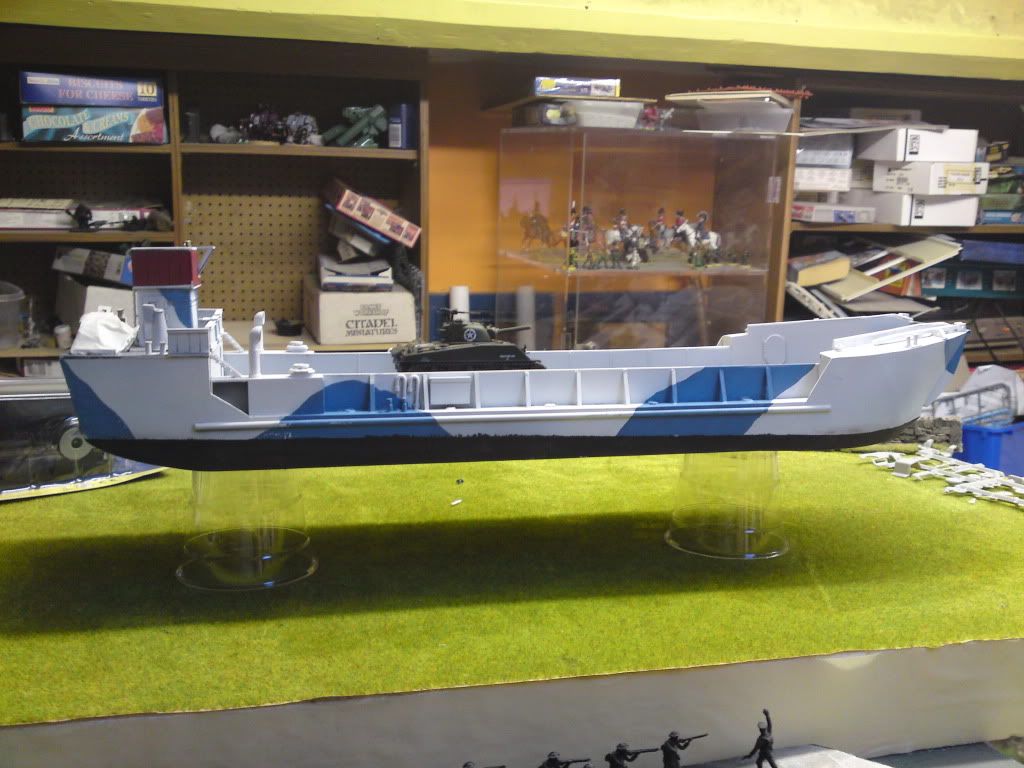
Port

After undercoating and rubbing down I base coated in white. The under hull, was Chaos Black from GW and then a mix of two GW blues for the camouflage. This was brush painted.
The plan is for more weathering, including washes - these things got really rusty.

That pelorus has to be moved - it's in the wrong place.


Starboard

Port

Painting 1
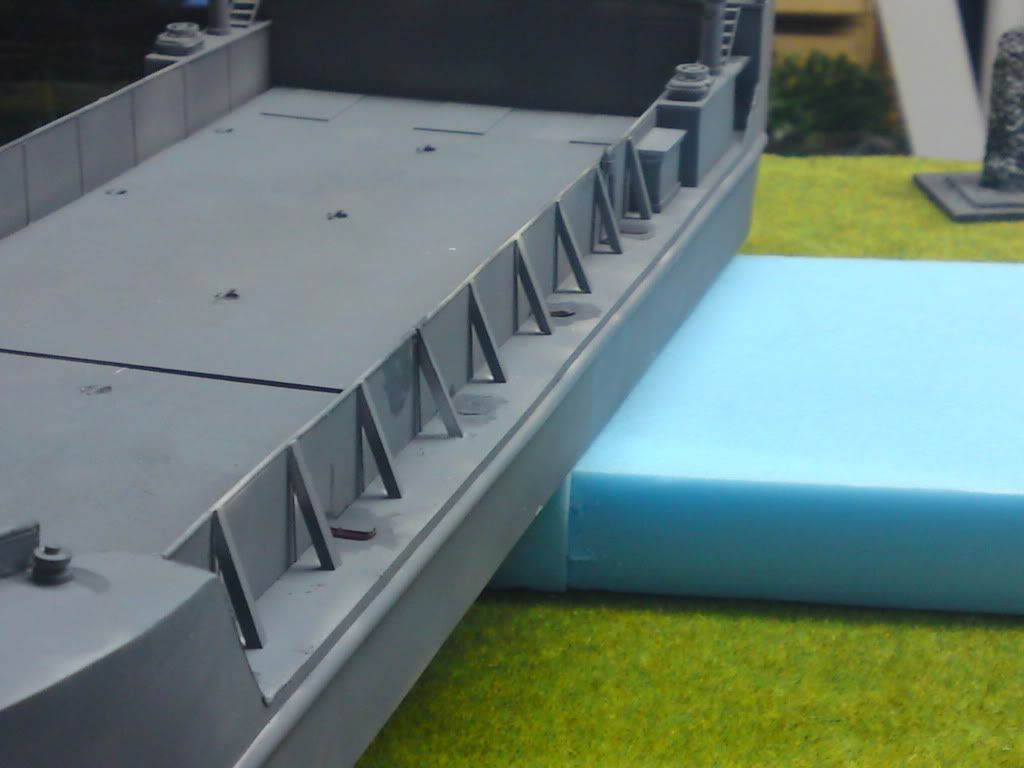
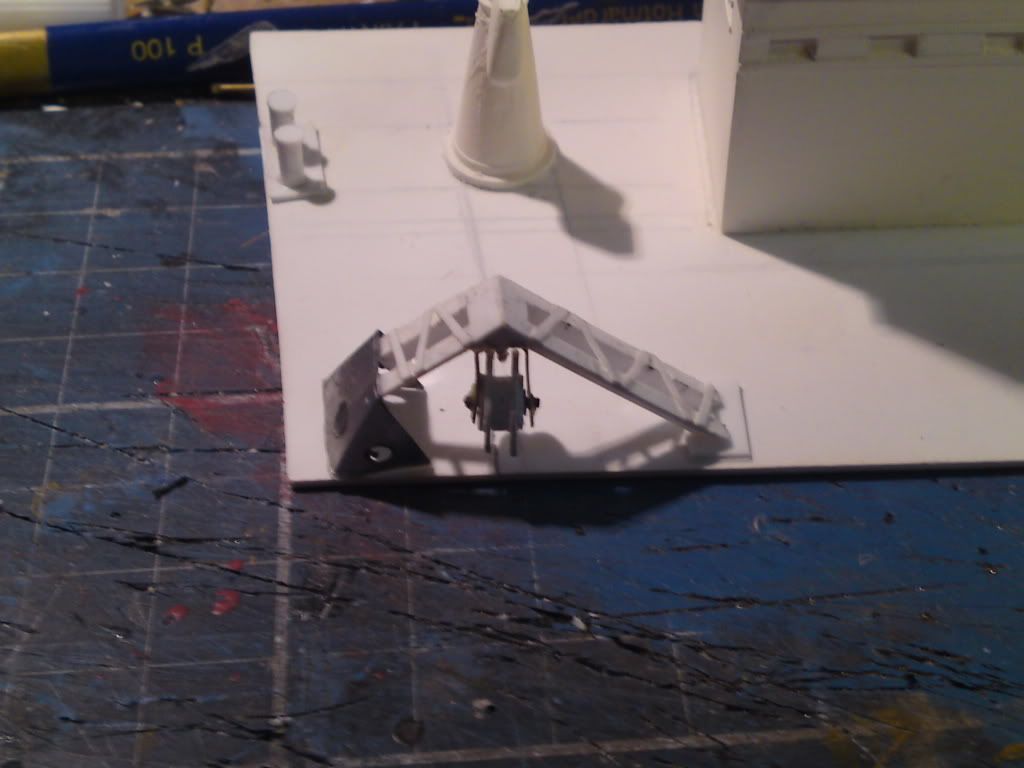
Before I get into the painting - the braces for the bulwarks after they had been changed. With hose reel stowage.


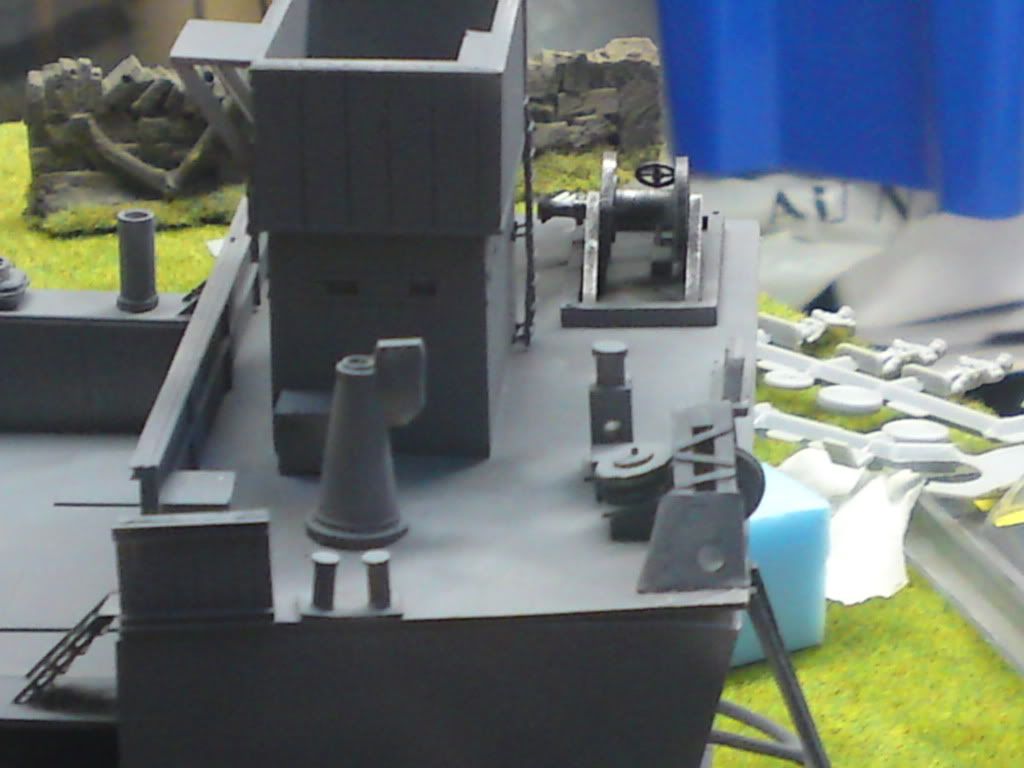
Anchor winch
The frame work for the anchor winch came next.
This piece was formed from the aluminium off the bottom of a Pringles tube by working the web out with geometry.

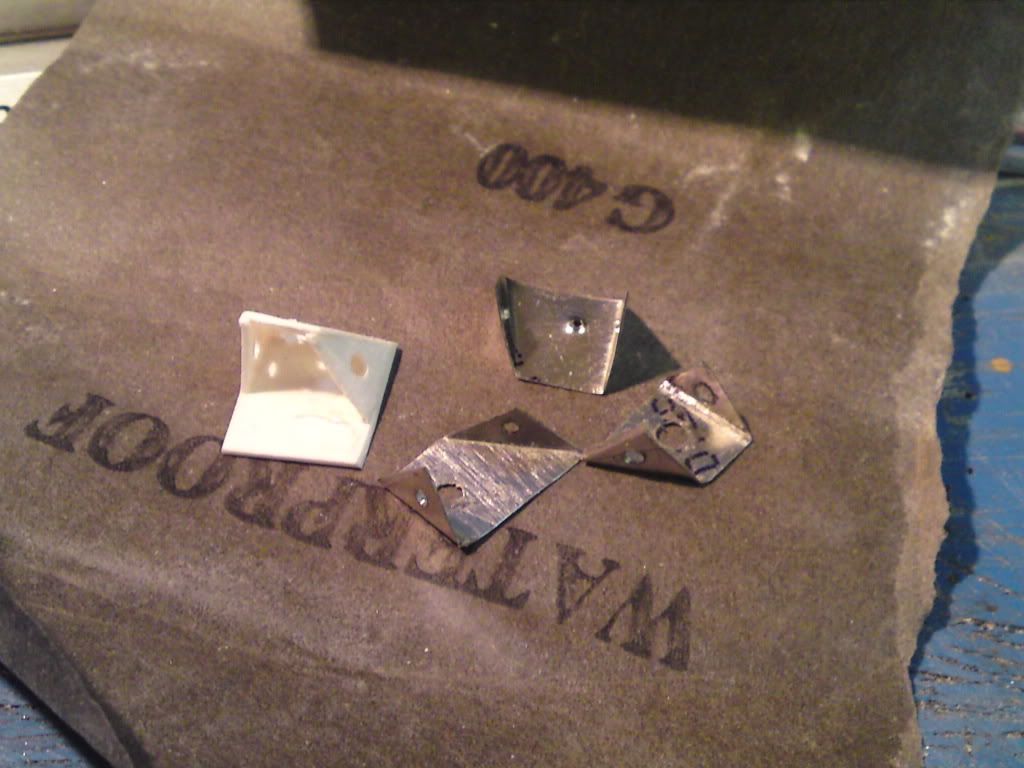
The failures...
And finished in place
 .
.
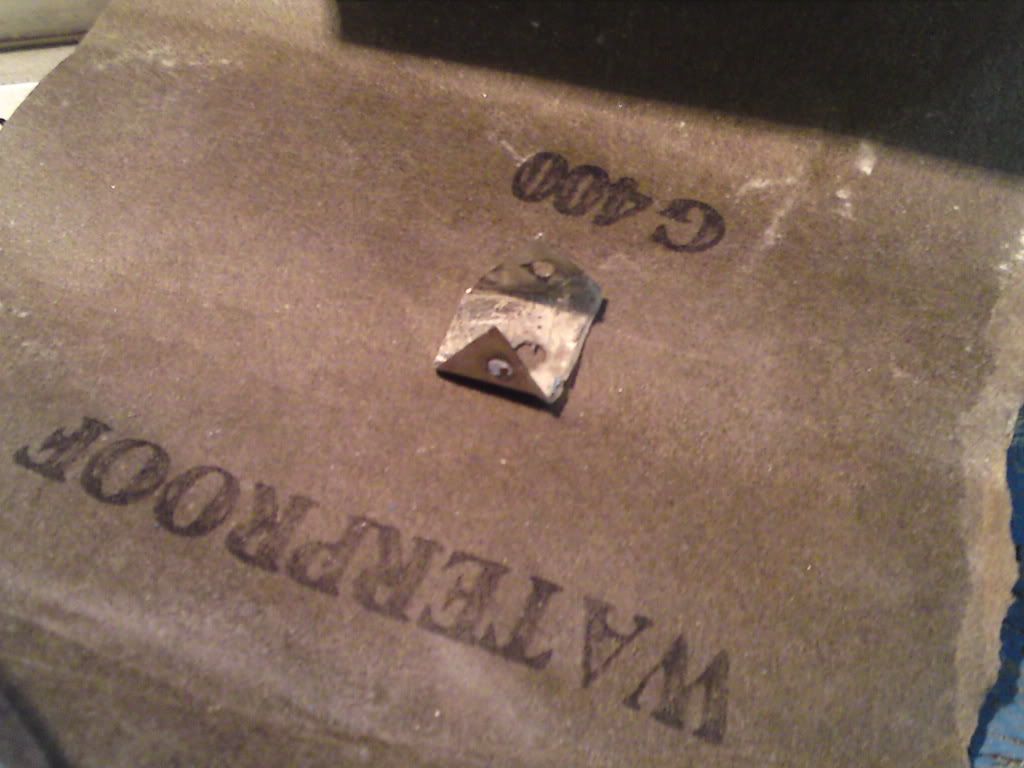
The blocky upright shape is a cable cutter, basically a big wedge that you hit with a sledge hammer to cut the cable.
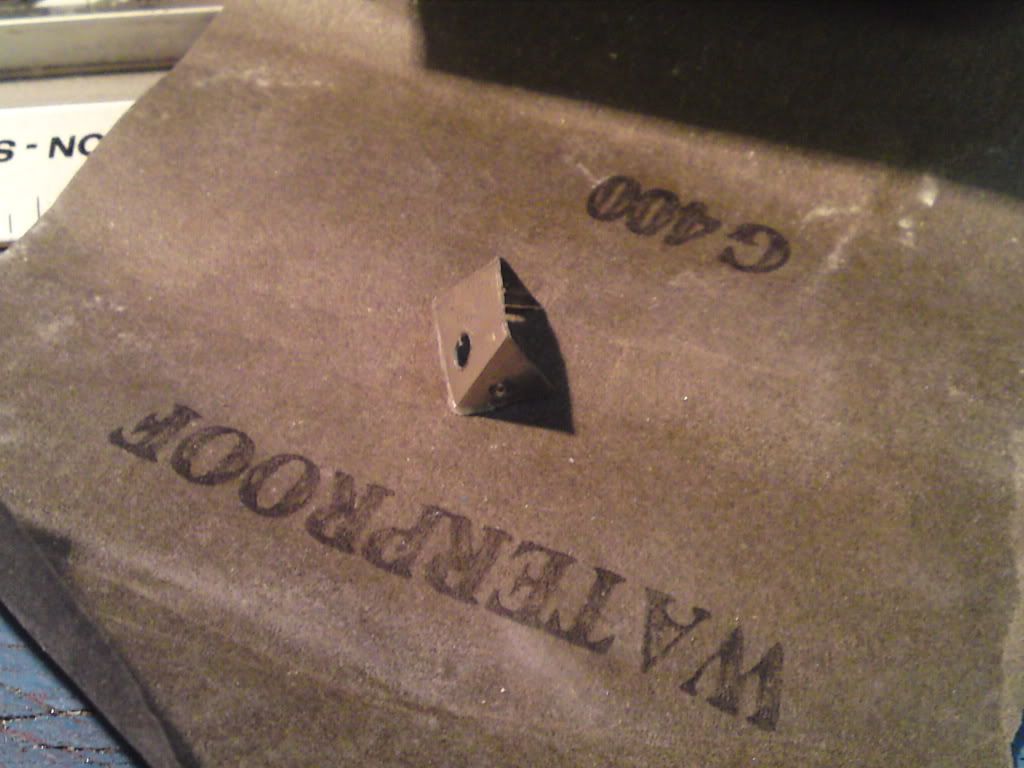
Also at the starboard side of the aft deck is the main winch.
Going to have to do something about that bit of warpage that's crept into the aft deck.
This piece was formed from the aluminium off the bottom of a Pringles tube by working the web out with geometry.


The failures...

And finished in place
 .
.
The blocky upright shape is a cable cutter, basically a big wedge that you hit with a sledge hammer to cut the cable.
Also at the starboard side of the aft deck is the main winch.


Going to have to do something about that bit of warpage that's crept into the aft deck.
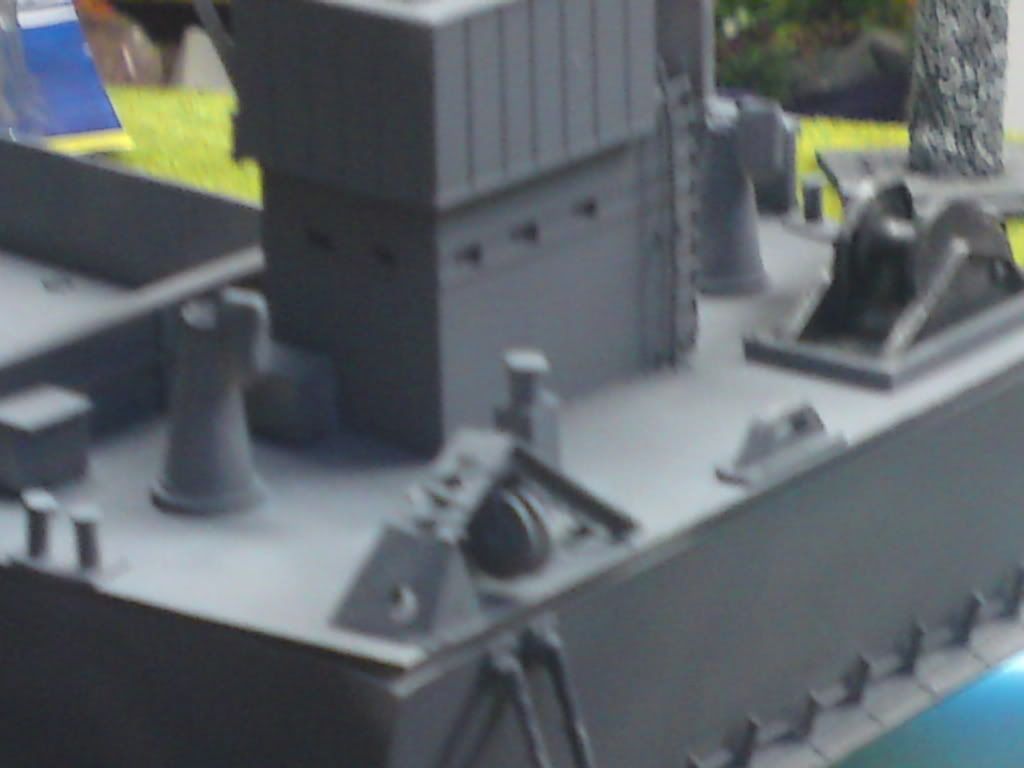
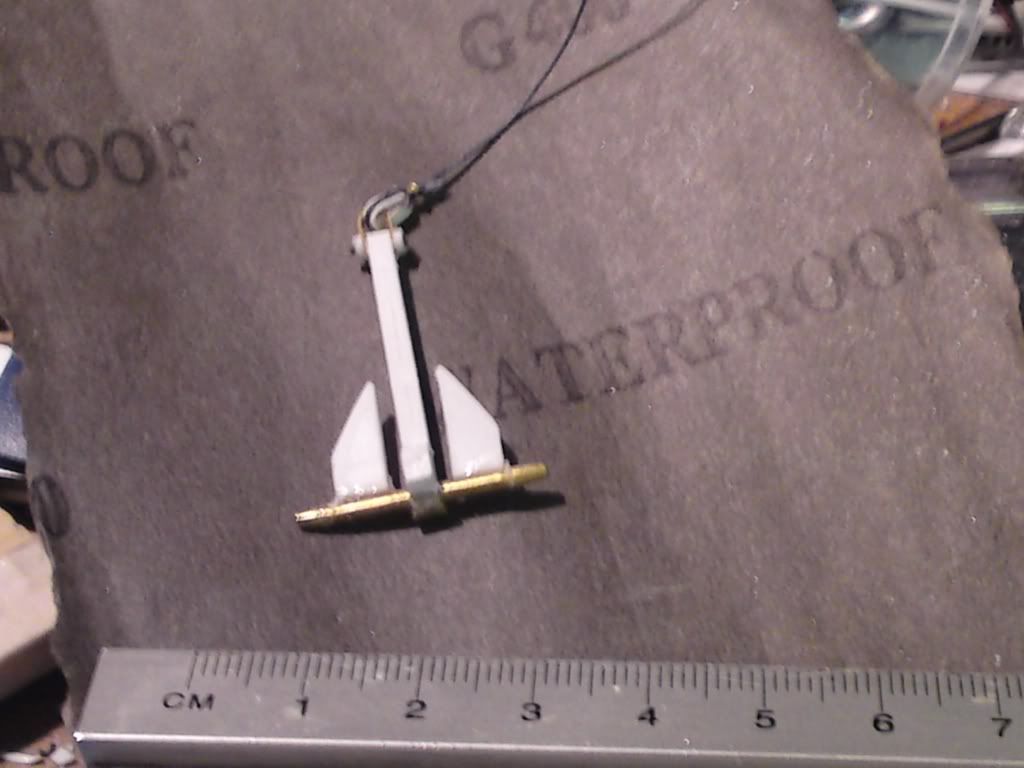
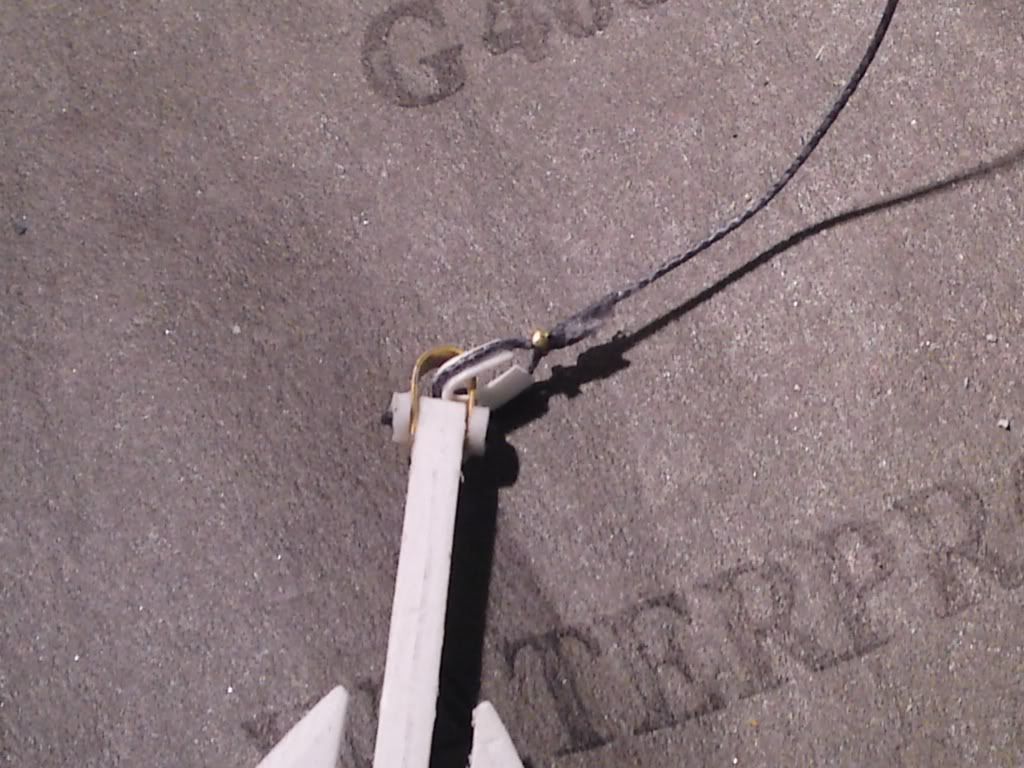
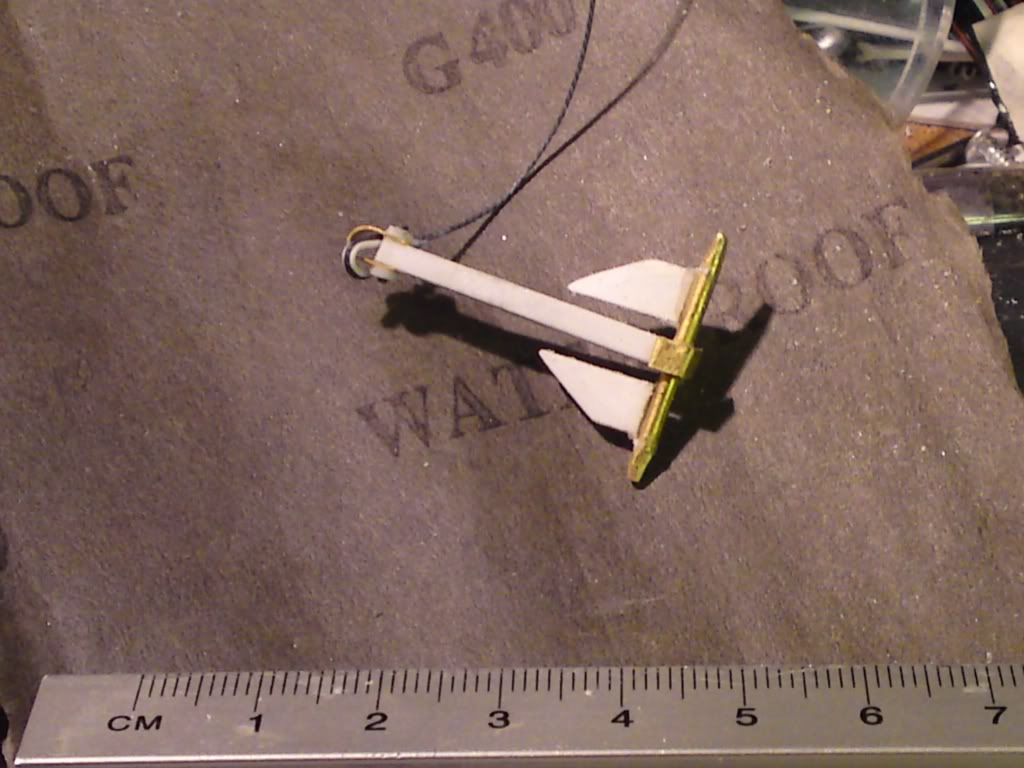
Anchors and bits
The main kedge anchor. The LCT would drop anchor on the run in to the beach and then reel in the cable and put all three engines in reverse to get back off the beach.
Railings - showing my shortcomings when it comes to soldering. After two or three goes I decided to stick with styrene.


Railings - showing my shortcomings when it comes to soldering. After two or three goes I decided to stick with styrene.


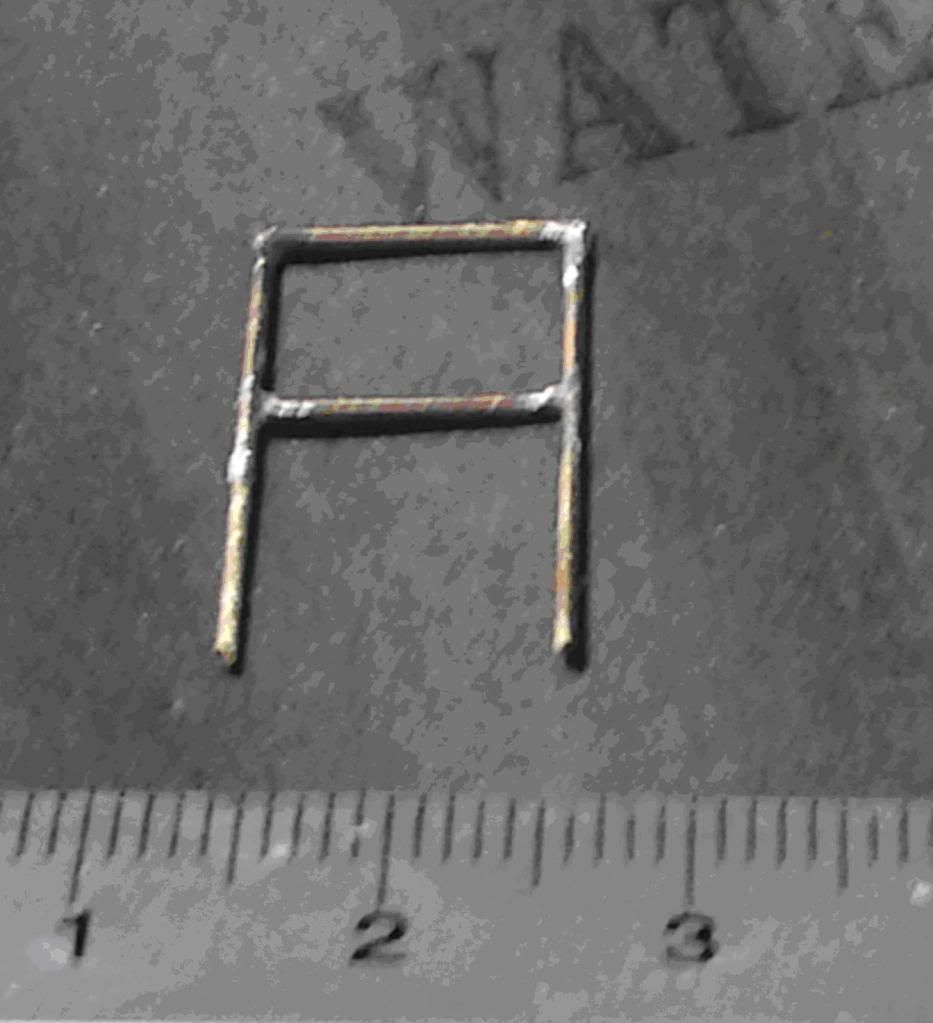
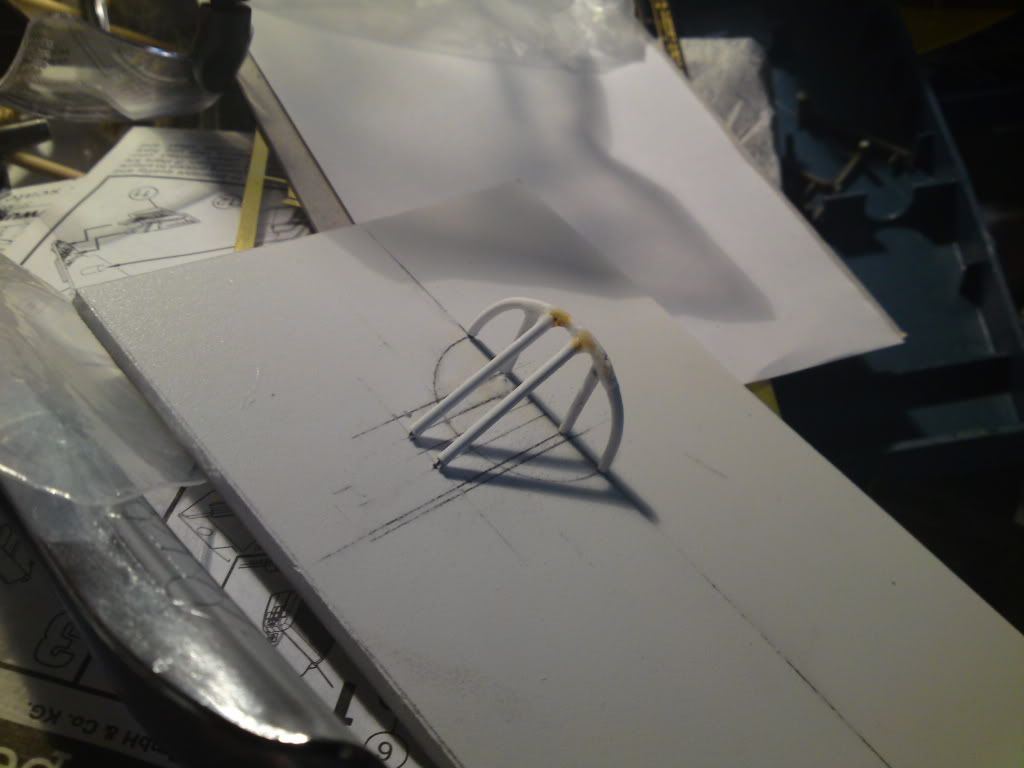
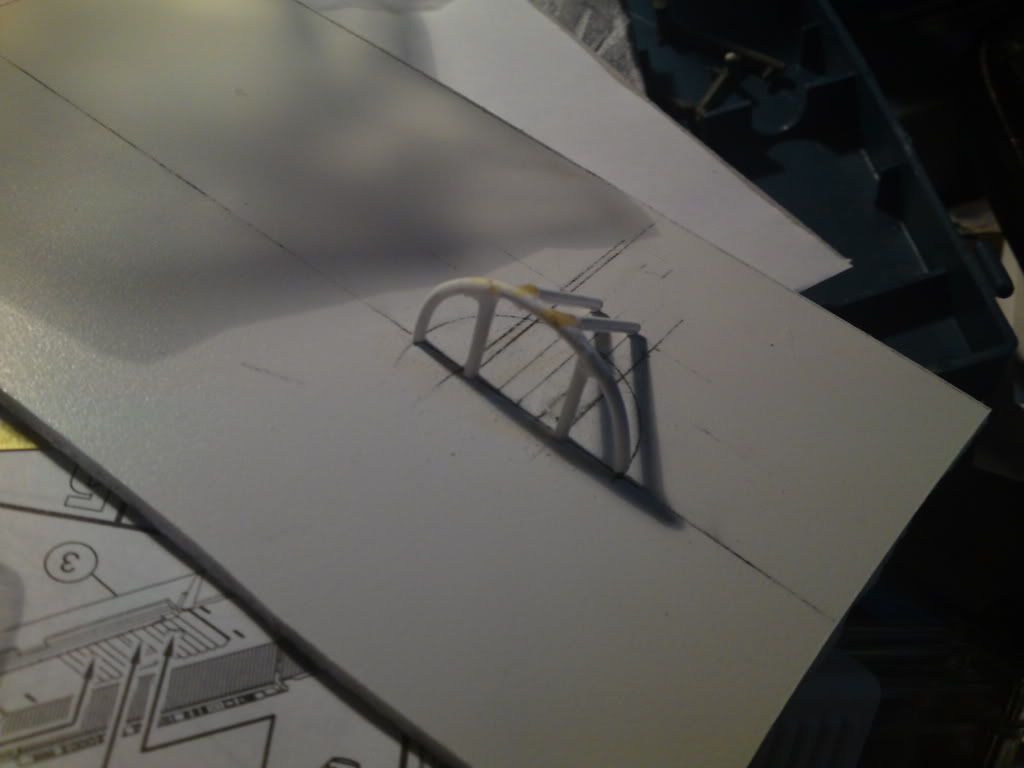
Anchor Skeg
Wasn't sure about how I was going to do this.
So I worked it out on the flat first from plastic coated soft iron wire. You can glue this with cyano-acrylate, and trim he ends back to make pegs. I made it in one piece and made the biggest hoop solid.
Then I disengaged it fom the plan and trimmed that piece of card down to size.
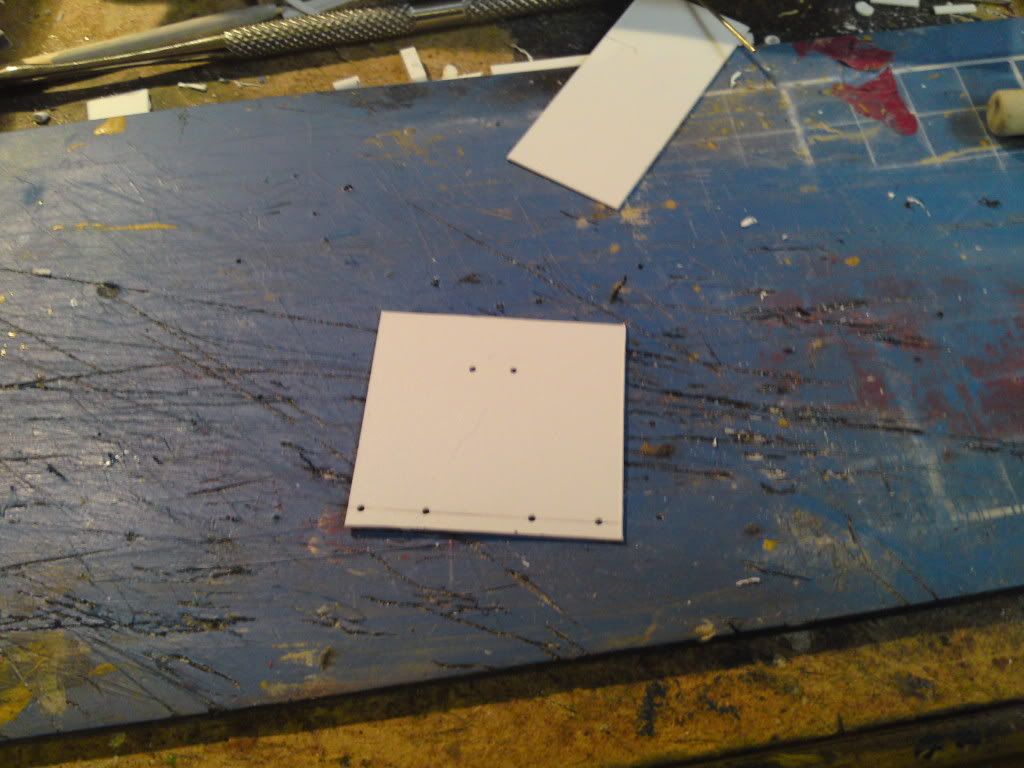
Once I had the template, I added double sided tape and placed it on the back of the hull.

I used the template to drill the hull, and glue the skeg in place.
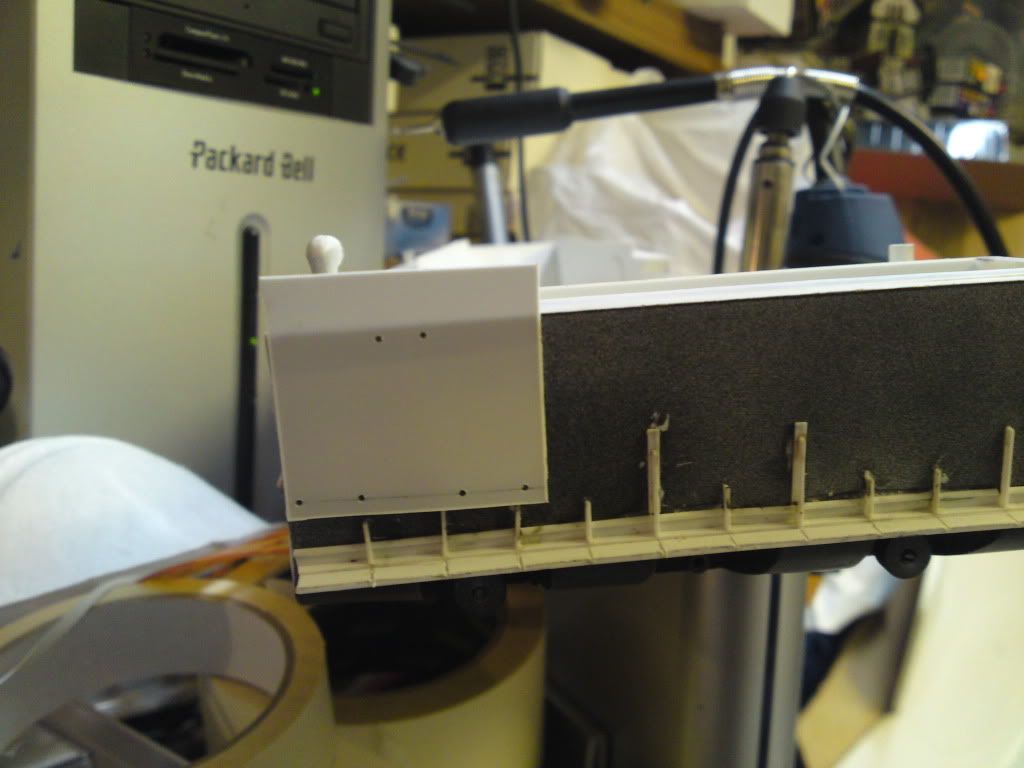
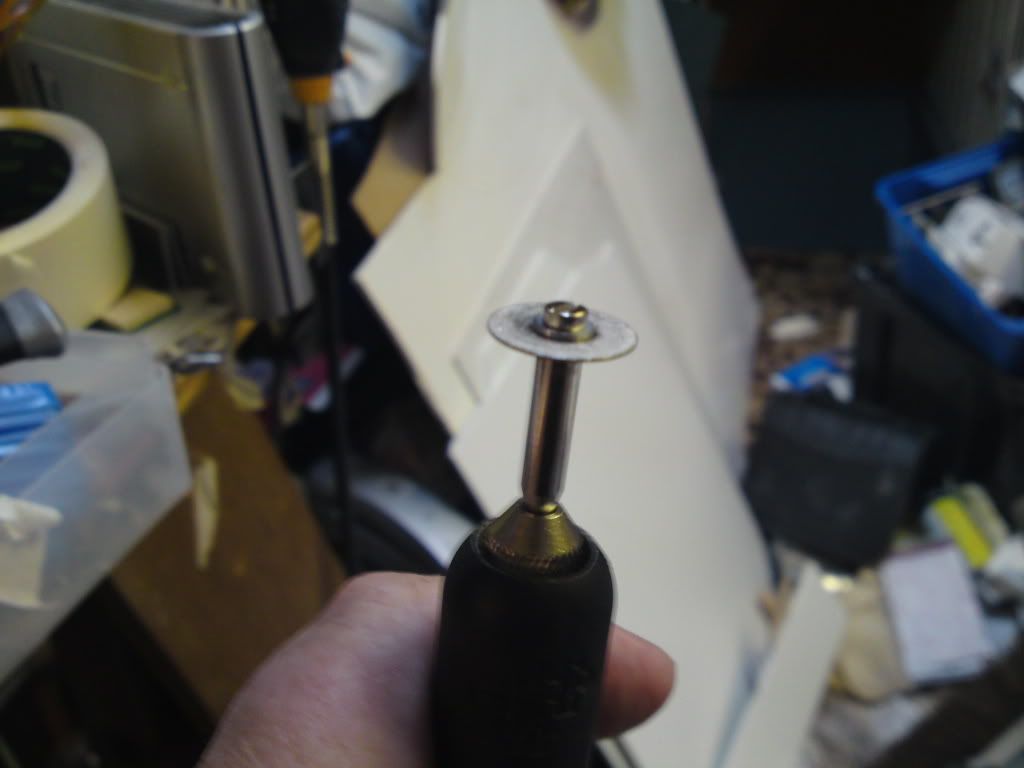
Then out comes my friend Mr Dremel!
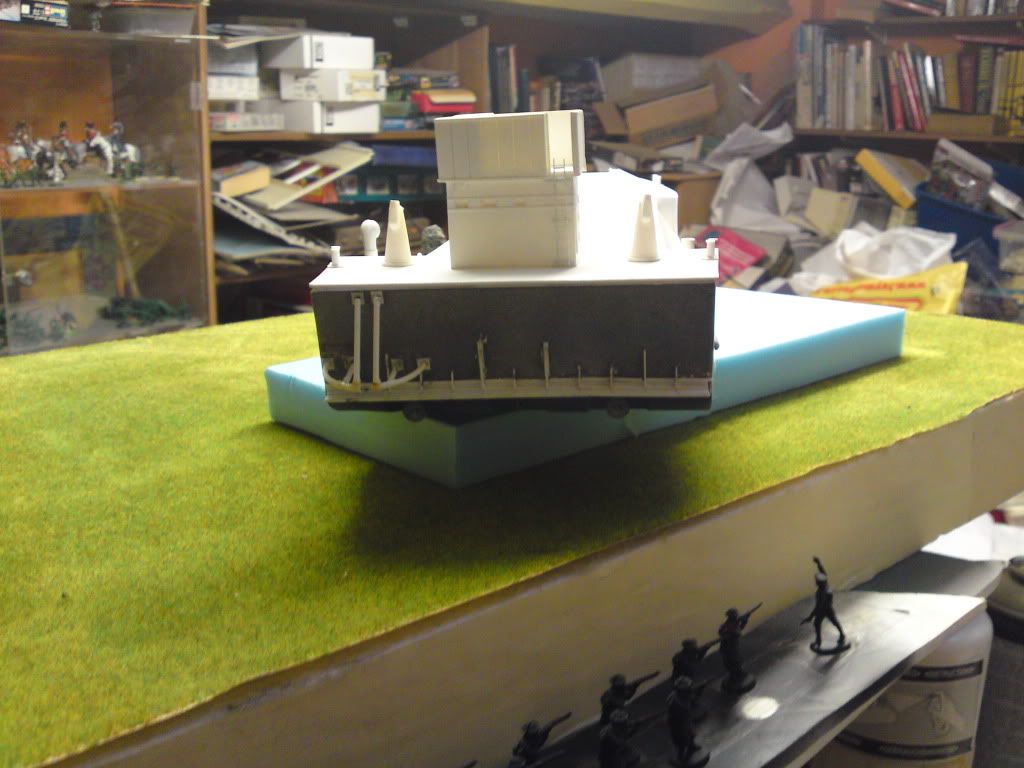
And now for the pack shot!
So I worked it out on the flat first from plastic coated soft iron wire. You can glue this with cyano-acrylate, and trim he ends back to make pegs. I made it in one piece and made the biggest hoop solid.


Then I disengaged it fom the plan and trimmed that piece of card down to size.

Once I had the template, I added double sided tape and placed it on the back of the hull.


I used the template to drill the hull, and glue the skeg in place.

Then out comes my friend Mr Dremel!


And now for the pack shot!

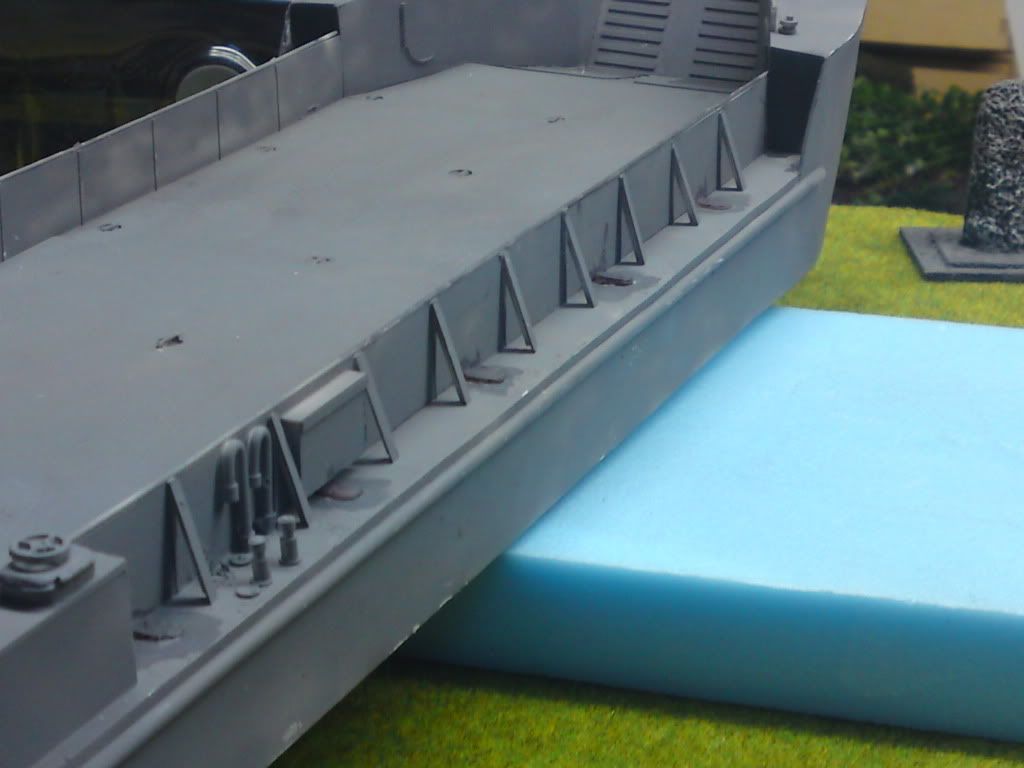
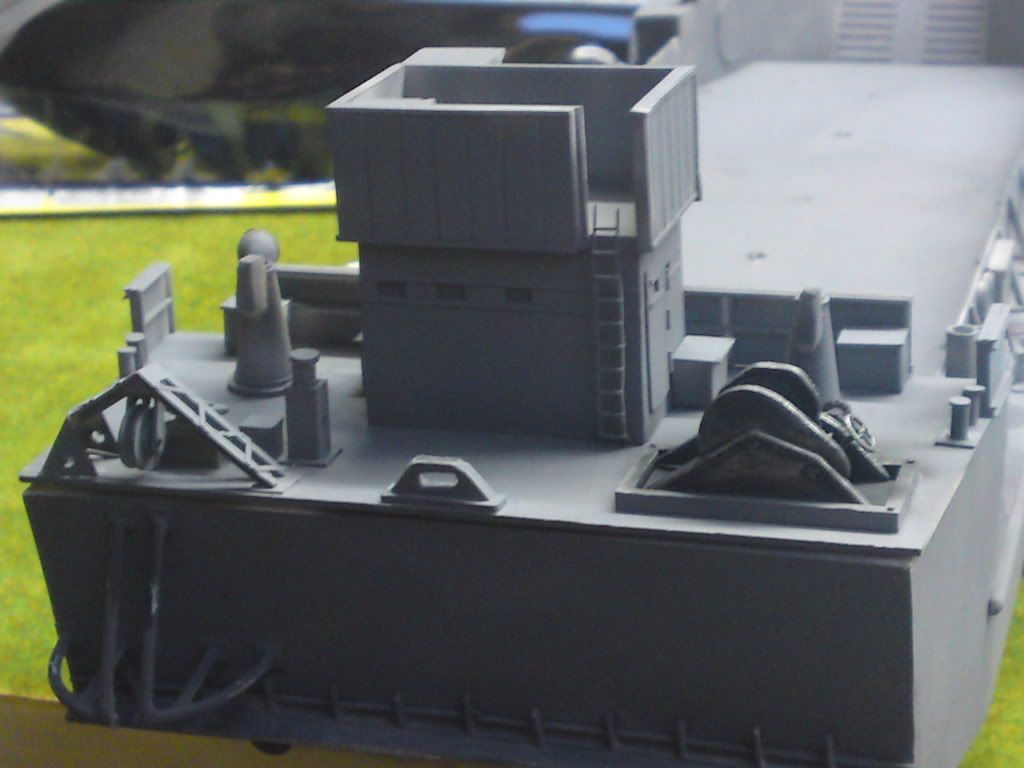
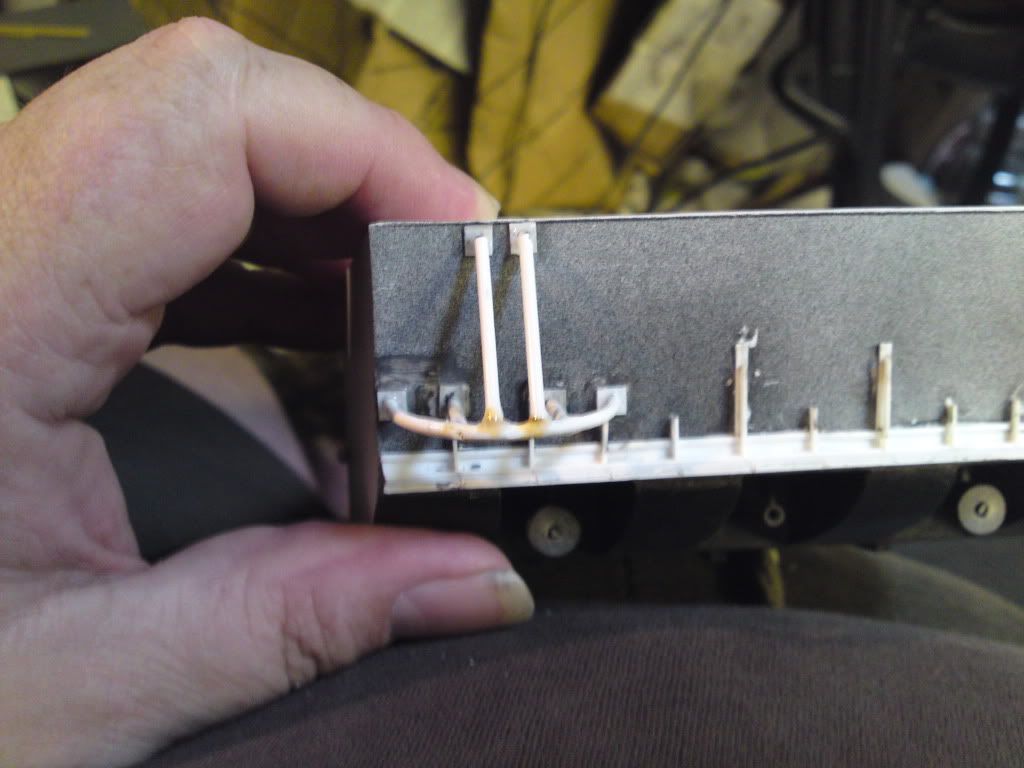
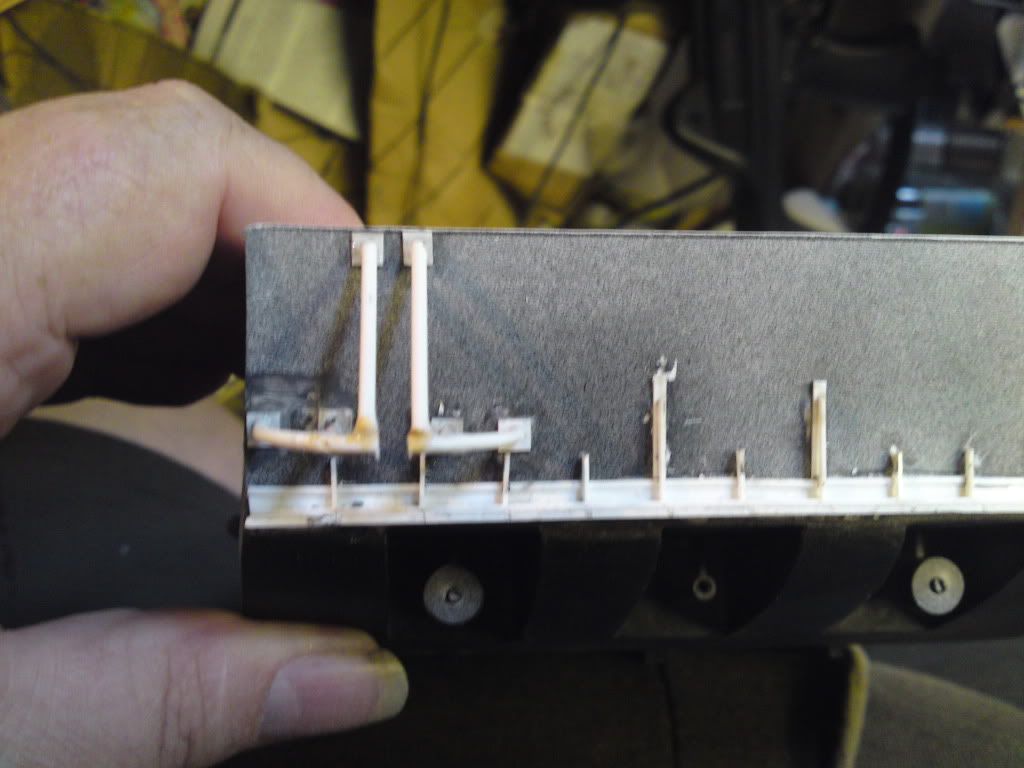
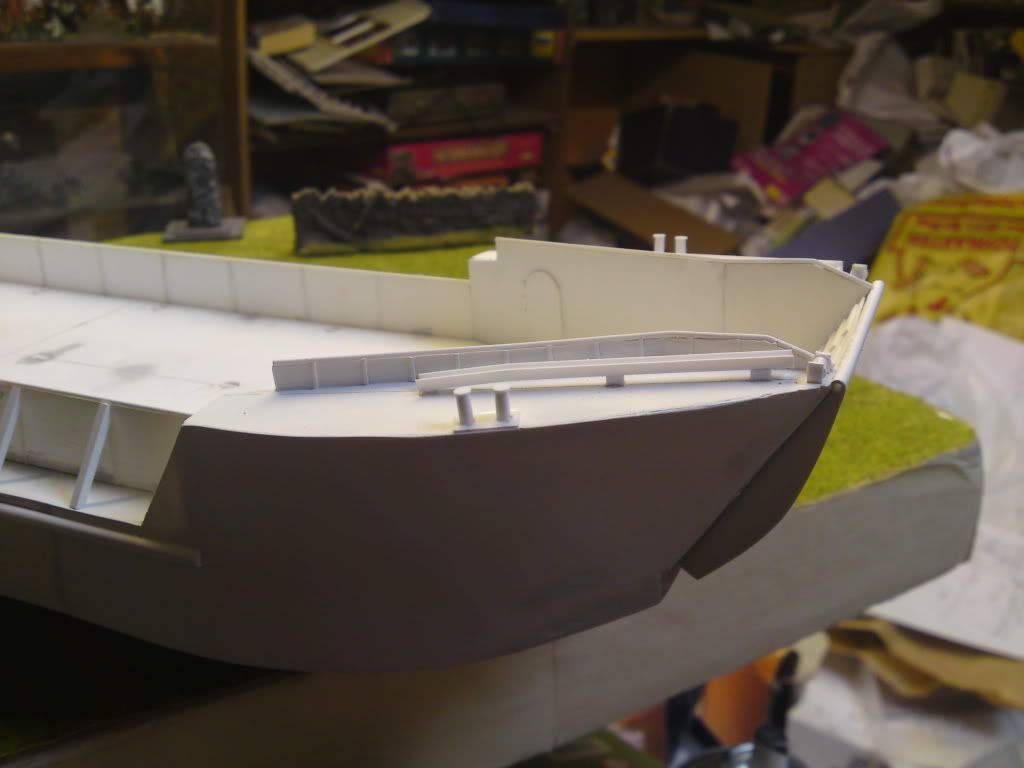
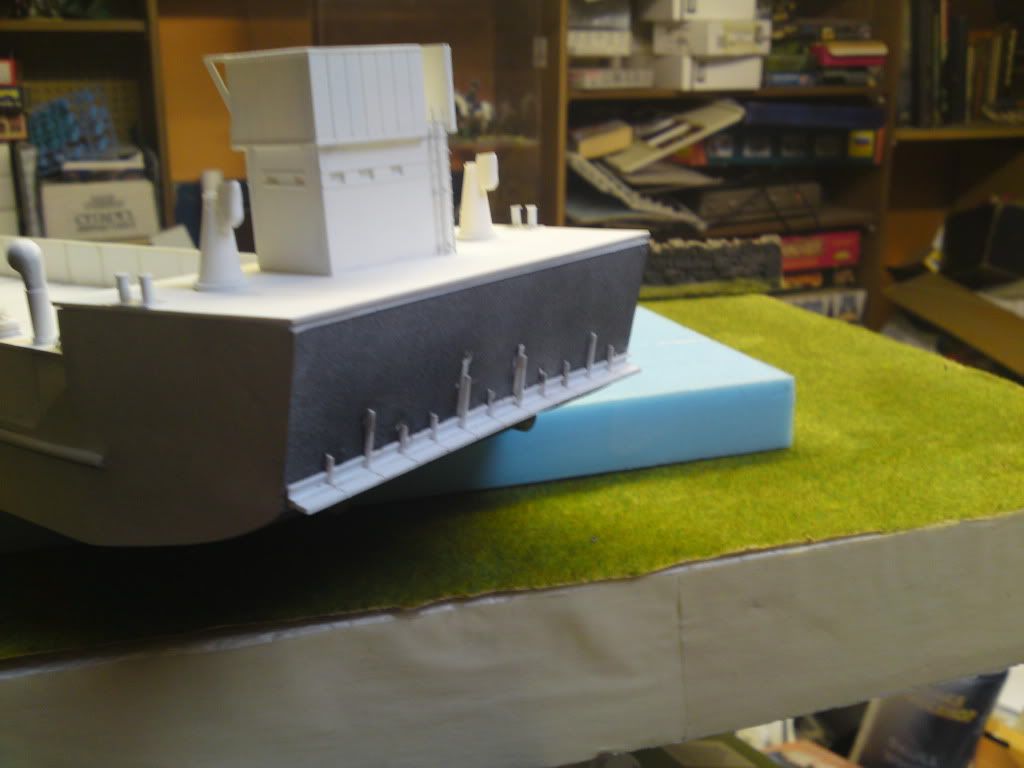
Deck fittings and trim tabs
Quickly through some of the deck fittings
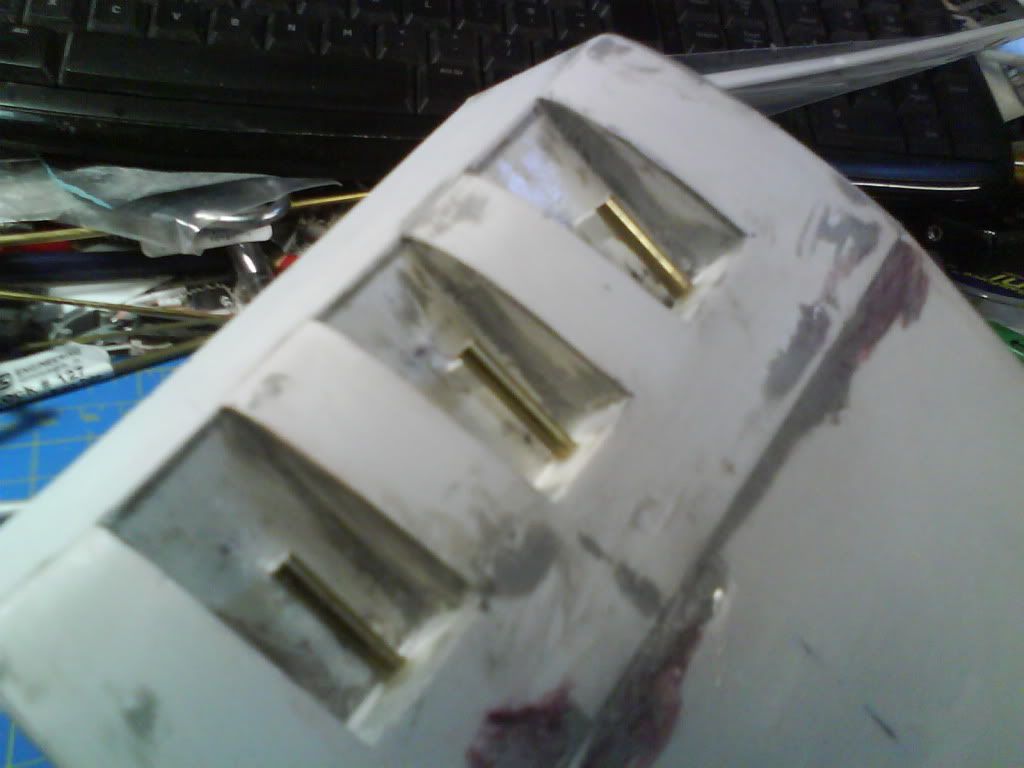
on the foc's'l - the cable guides for the ramp cables.
mid decks for refueling

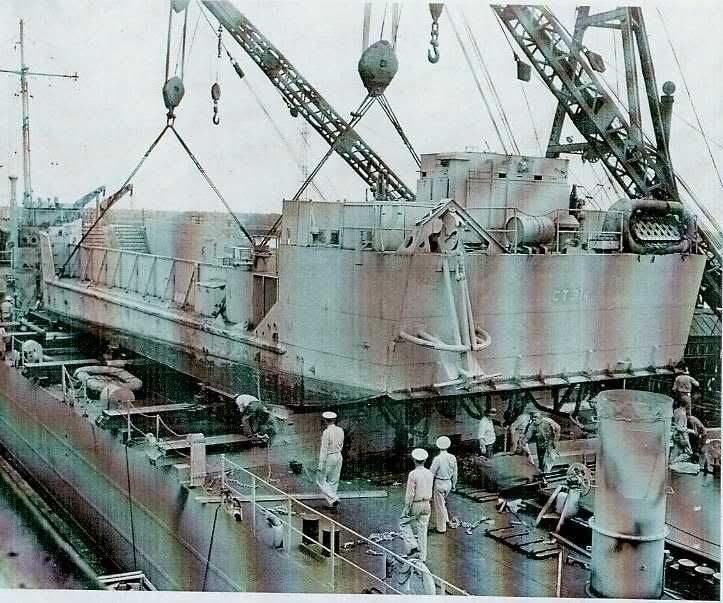
This photo of an LCT being loaded onto an LST shows the framework, I think it's called a skeg, around the anchor. It also shows trim tabs - that stop the hull digging in as you apply the power. They weren't on the plans, but they're now on my model.
on the foc's'l - the cable guides for the ramp cables.

mid decks for refueling

This photo of an LCT being loaded onto an LST shows the framework, I think it's called a skeg, around the anchor. It also shows trim tabs - that stop the hull digging in as you apply the power. They weren't on the plans, but they're now on my model.


Prop shafts and tubes
The servo
/motors will drive two 2mm shafts going out of the hull through the double walls, but at the outboard end I planned two 'packing tubes' (see? - I have all the lingo down) filled with grease as extra insurance.
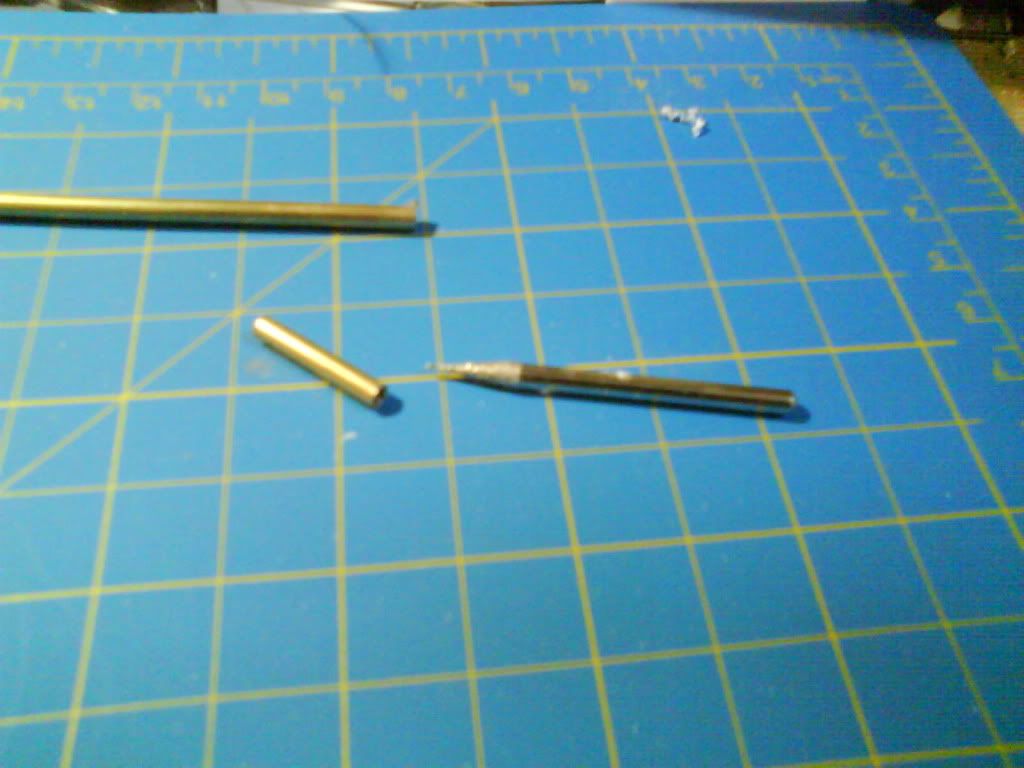
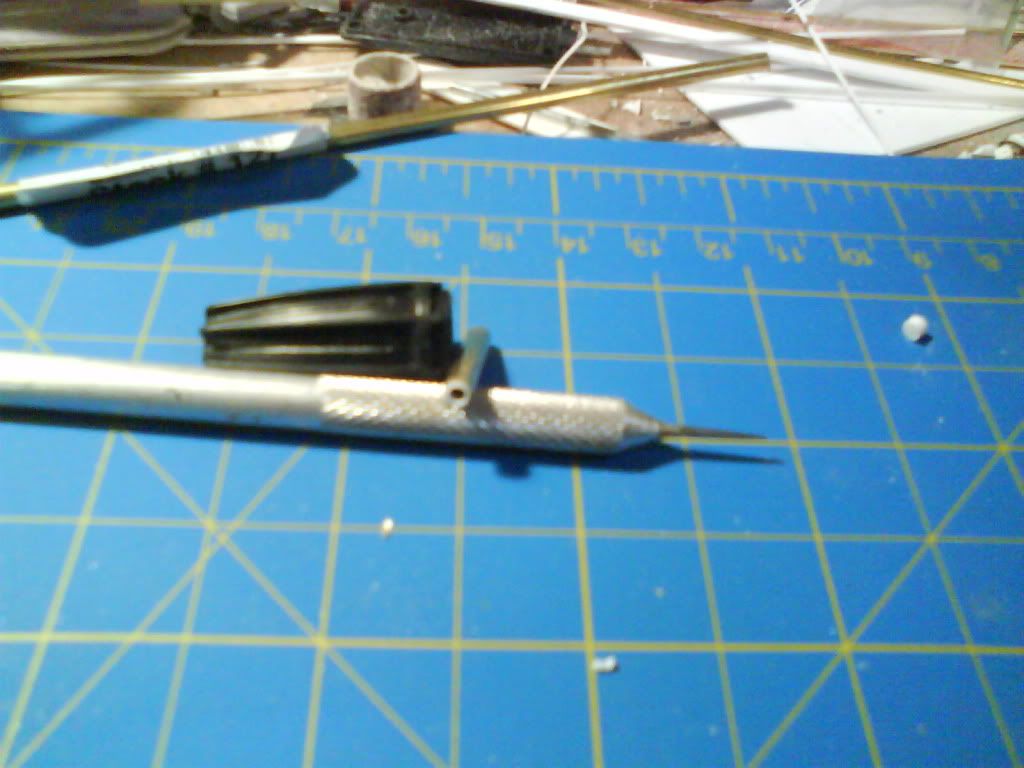
Start with 3.5mm brass tube cut to length,
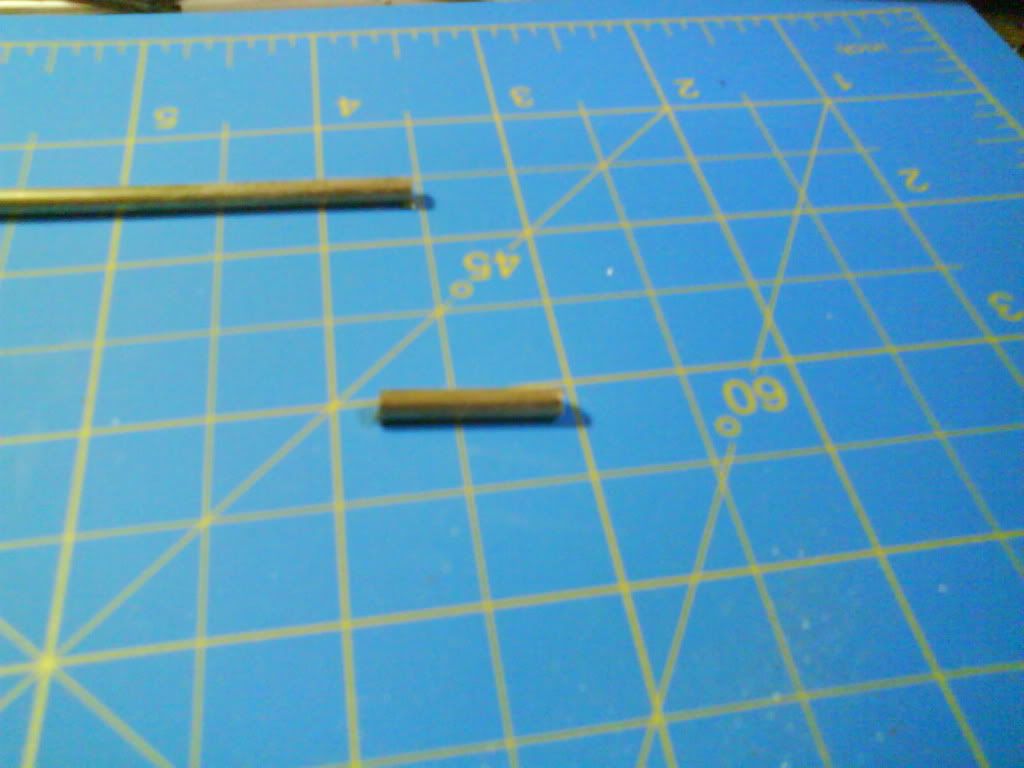
Clean out the burrs
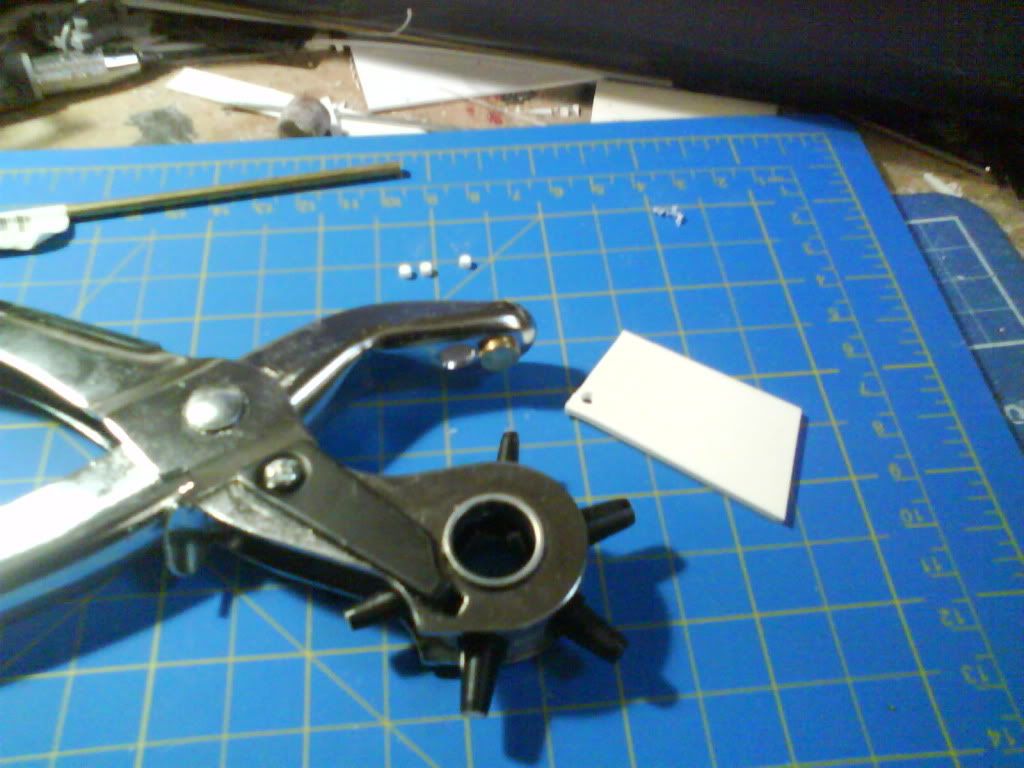
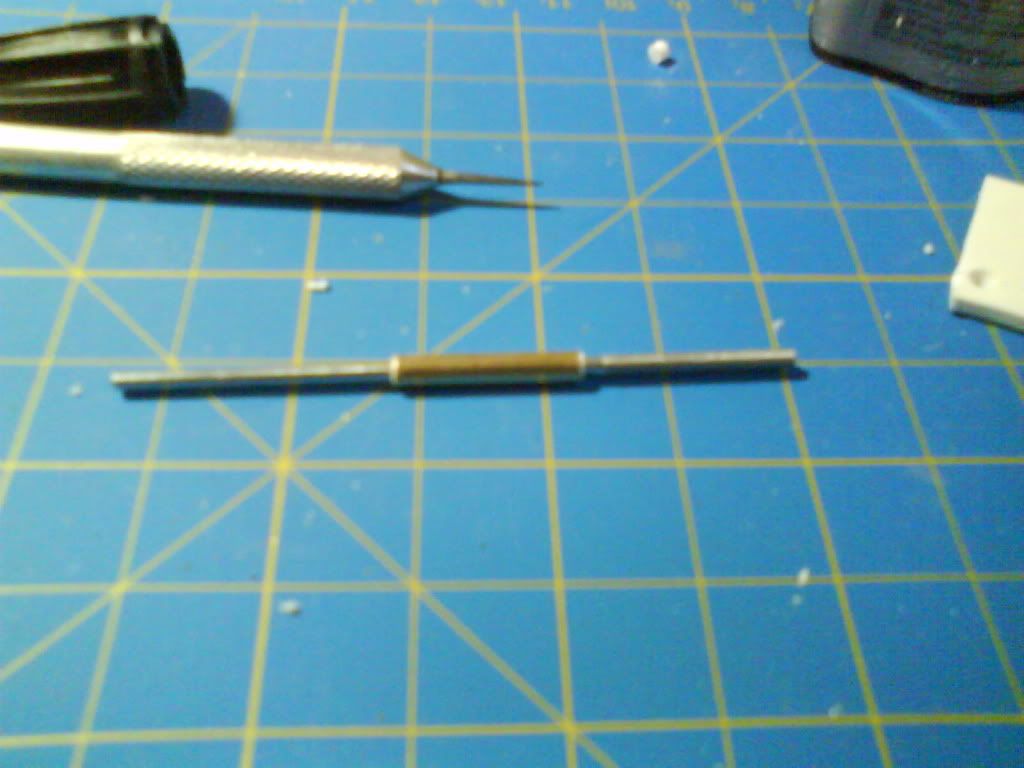
Punch out two discs of plastic card - these double as the end seals and bearings.
Plug the ends of your packing tubes.
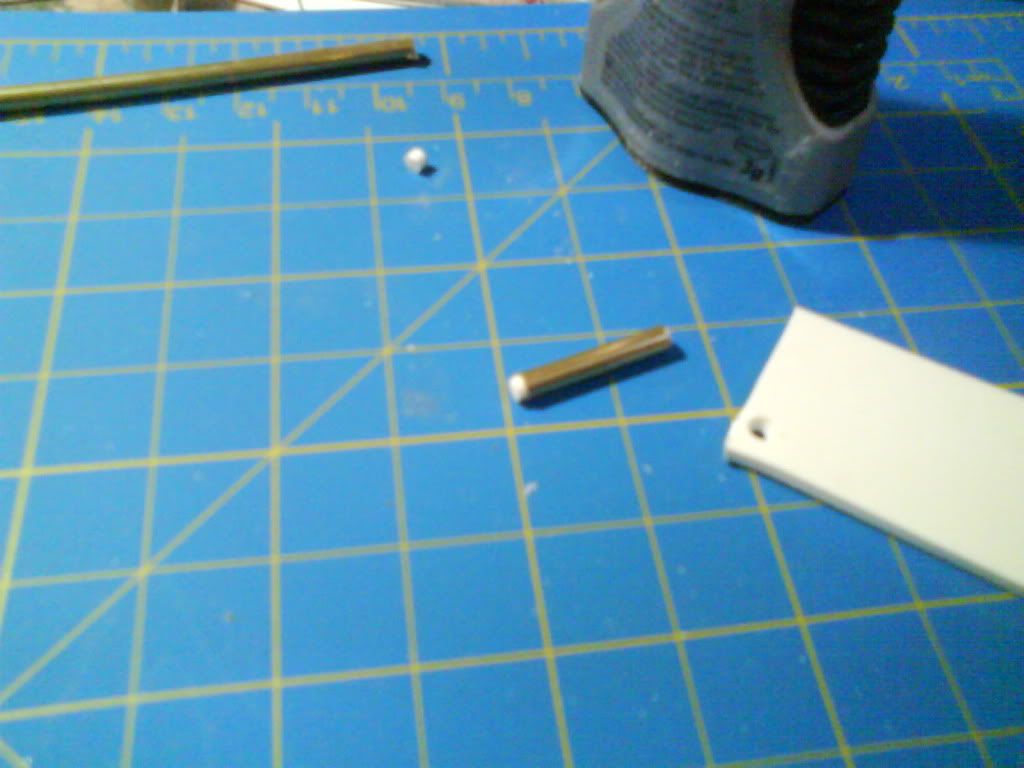
Centre the discs and mark with an awl.

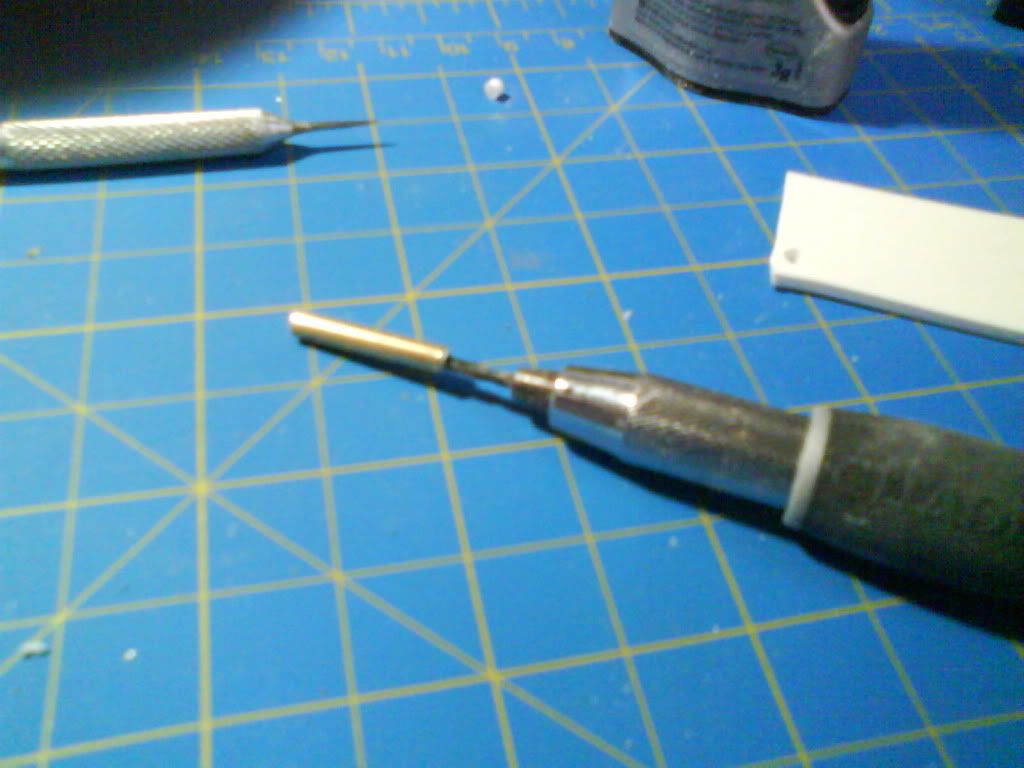
Drill, display, test and fit.
/motors will drive two 2mm shafts going out of the hull through the double walls, but at the outboard end I planned two 'packing tubes' (see? - I have all the lingo down) filled with grease as extra insurance.
Start with 3.5mm brass tube cut to length,

Clean out the burrs

Punch out two discs of plastic card - these double as the end seals and bearings.

Plug the ends of your packing tubes.

Centre the discs and mark with an awl.

Drill, display, test and fit.


Subscribe to:
Posts (Atom)